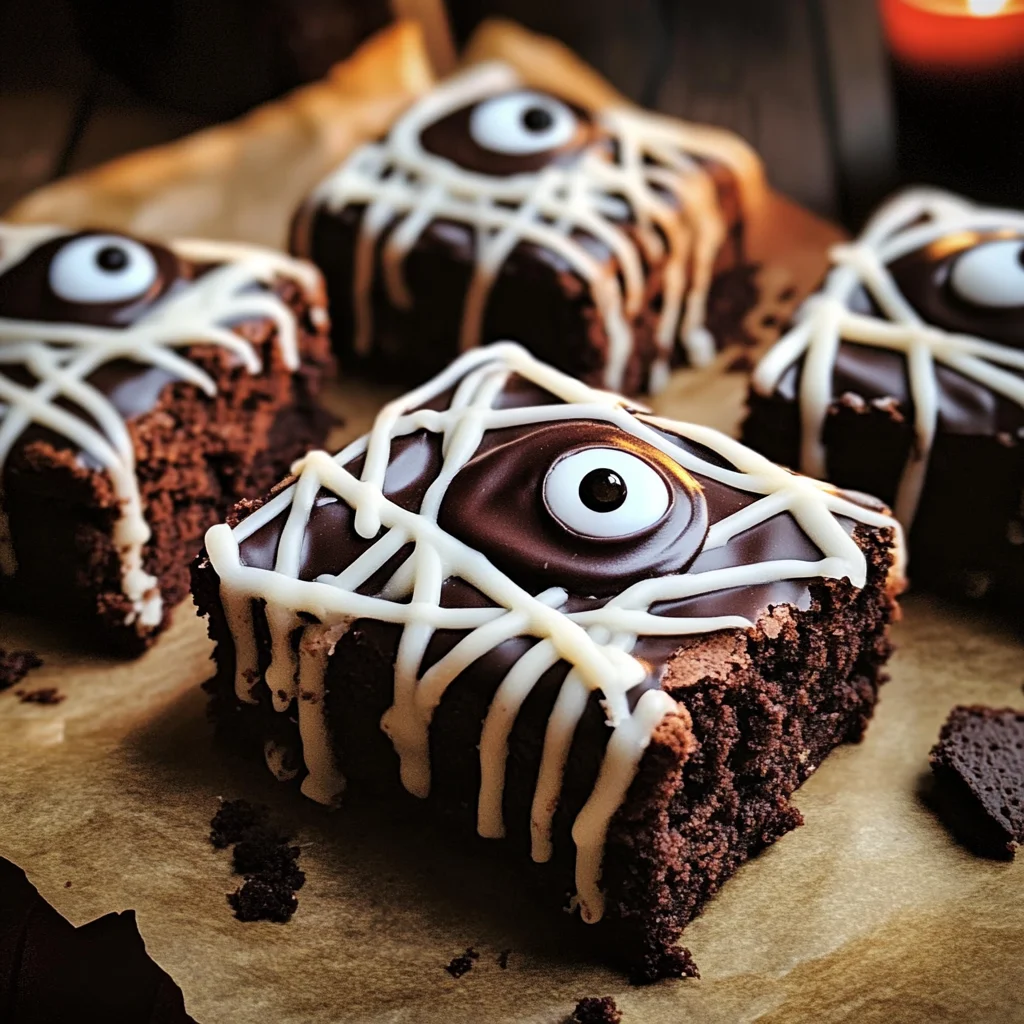
spooky mummy brownies
Almost too cute to eat, these spooky mummy brownies are the perfect treat for Halloween or any fun gathering. Their charming appearance and rich chocolate flavor make them a hit with both kids and adults alike. Whether you’re hosting a festive party or looking for a fun baking project, these brownies bring joy to any occasion.
Why You’ll Love This Recipe
- Easy to Make: With simple ingredients and straightforward instructions, these brownies are perfect for bakers of all levels.
- Deliciously Decadent: Rich dark chocolate creates a fudgy texture that is simply irresistible.
- Cute Presentation: The mummy design topped with candy eyes adds a playful twist, making them ideal for Halloween celebrations.
- Versatile Treat: Perfect for parties, school events, or just a cozy night in with family.
- Kid-Friendly Fun: Get the little ones involved in decorating their very own spooky mummies!
Tools and Preparation
Before starting your baking adventure, gather your essential tools. Having everything ready will make the process smoother and more enjoyable.
Essential Tools and Equipment
- 9 x 9 inch cake pan
- Microwave-safe bowls
- Stand mixer (or hand mixer)
- Spatula
- Baking sheet
- Parchment paper
- Ziptop bag or pastry bag
Importance of Each Tool
- 9 x 9 inch cake pan: This size ensures even baking for your brownies, giving you that perfect chewy texture.
- Stand mixer: Saves time and energy when beating eggs or mixing batter, ensuring everything is well combined.

Ingredients
To create these delightful spooky mummy brownies, you will need the following ingredients:
- 10 tbsp butter
- 1 1/2 cups dark chocolate chips or chunks
- 1 cup sugar
- 1/4 cup dark brown sugar
- 3 eggs, at room temperature
- 1 tsp espresso powder (optional)
- 2 tsp vanilla extract
- 3/4 cup all-purpose flour
- 1/3 cup unsweetened cocoa powder
- 1/2 tsp baking powder
- 1/2 tsp kosher salt
- 1 package candy eyes
- 20 oz semi-sweet or milk chocolate chips
- 1 tbsp coconut oil
- 1 cup powdered sugar
- 2–3 tbsp heavy cream, to thin
How to Make spooky mummy brownies
Step 1: Preheat the Oven
Preheat your oven to 350 degrees Fahrenheit. Line a 9 x 9 inch cake pan with parchment paper so that it hangs over the edges.
Step 2: Melt Chocolate and Butter
In a microwave-safe bowl, heat 1 cup of chocolate chips with butter for about 1 minute. Stir until the bowl is no longer warm. If necessary, microwave another 20 seconds, then stir until very smooth. Whisk in both sugars until dissolved.
Step 3: Beat Eggs
In the bowl of a stand mixer, vigorously beat the eggs until frothy, approximately 2–3 minutes. While mixing, slowly stream in the chocolate mixture and continue to beat until smooth. If using, add espresso powder and vanilla extract.
Step 4: Combine Dry Ingredients
To the chocolate mixture, add flour, cocoa powder, baking powder, and salt. Beat until just combined. Gently fold in the remaining 1/2 cup of chocolate chips.
Step 5: Bake Brownies
Spread the batter into the prepared cake pan from edge to edge using a spatula. Bake for about 25–30 minutes, or until an inserted toothpick comes out with just a few moist crumbs. Allow cooling before cutting into large squares (9) or smaller pieces (12). Set in the freezer for about 15 minutes.
Step 6: Prepare Chocolate Coating
In another microwave-safe bowl, combine the remaining chocolate chips with coconut oil for coating. Heat for about 1 minute, then stir until smooth. Allow cooling for about 5 minutes, while lining a baking sheet with parchment paper.
Step 7: Coat Brownies
Remove brownies from the freezer. Dip each brownie into the melted chocolate using a fork to coat all sides evenly. Let excess chocolate drip back into the bowl before placing on prepared parchment-lined sheet. Chill in the fridge for another 15 minutes.
Step 8: Make Bandage Icing
To prepare bandage icing, whisk together powdered sugar with one tablespoon of heavy cream. Add more cream as needed until you achieve a thick consistency similar to Elmer’s glue. Transfer icing into a ziptop bag with one corner snipped off or use a pastry bag fitted with a thin tip.
Step 9: Decorate Mummy Brownies
Once brownies have chilled, use icing to create crisscross patterns resembling bandages. Attach candy eyes using extra icing as glue. Allow finishing touches to harden for about 10 minutes before serving.
Enjoy your adorable and delicious spooky mummy brownies!
How to Serve spooky mummy brownies
These delightful spooky mummy brownies are not just a treat for the taste buds but also a feast for the eyes. Here are some fun serving suggestions to make your Halloween celebration even more festive.
For a Spooky Dessert Table
- Arrange the brownies on a decorative platter with Halloween-themed decorations such as mini pumpkins or skeletons.
- Use colorful plates or napkins that match the Halloween theme for an extra festive touch.
With a Scoop of Ice Cream
- Pair each brownie with a scoop of vanilla or pumpkin spice ice cream. The creamy texture complements the fudgy brownies perfectly.
As Party Favors
- Wrap individual brownies in transparent bags tied with orange or black ribbons. This makes for an adorable and shareable party favor.
On a Halloween-themed Charcuterie Board
- Include the brownies on a charcuterie board alongside other treats like fruit, nuts, and cheese for a balanced assortment that guests will love.
How to Perfect spooky mummy brownies
To ensure your spooky mummy brownies turn out deliciously every time, consider these helpful tips.
- Use room temperature eggs – This helps in achieving better mixing, resulting in lighter and fluffier brownies.
- Don’t overmix the batter – Overmixing can make your brownies tough instead of soft and chewy. Mix until just combined for best results.
- Check for doneness – Insert a toothpick into the center; it should come out with moist crumbs, not wet batter.
- Cool completely before decorating – Allowing the brownies to cool ensures that the icing does not melt when applied.
- Experiment with chocolate types – You can try semi-sweet, dark, or even white chocolate for different flavors in your coating.
Best Side Dishes for spooky mummy brownies
To complement your spooky mummy brownies, consider serving these delightful side dishes that enhance your dessert experience.
- Pumpkin Spice Muffins – These moist muffins flavored with pumpkin spices add a seasonal touch to your dessert table.
- Candied Apples – Bright red candied apples provide a crunchy contrast to the softness of the brownies.
- Chocolate Dipped Strawberries – Fresh strawberries dipped in chocolate create an elegant pairing and add freshness.
- Caramel Popcorn – Sweet and crunchy caramel popcorn makes a fun, shareable snack alongside your brownies.
- Ghostly Marshmallow Treats – These treats made from rice cereal and shaped like ghosts offer another whimsical dessert option.
- Spiced Nuts – A mix of spiced nuts can provide a savory balance to the sweet flavors of your desserts.
Common Mistakes to Avoid
To ensure your spooky mummy brownies turn out perfectly, avoid these common mistakes.
-
Not measuring ingredients properly: Precise measurements are crucial for baking. Use a kitchen scale or measuring cups and spoons to get accurate amounts.
-
Skipping the cooling time: Allowing the brownies to cool before cutting helps them set and makes them easier to handle. Patience is key!
-
Overmixing the batter: Mixing too much can lead to tough brownies. Mix until just combined for a fudgy texture.
-
Using low-quality chocolate: The quality of chocolate impacts flavor. Opt for good-quality dark chocolate chips for rich, delicious brownies.
-
Inadequate chilling after coating: Chilling the coated brownies helps the chocolate set properly. Don’t skip this step for a clean finish!
Storage & Reheating Instructions
Refrigerator Storage
- Store in an airtight container.
- They will stay fresh for up to 5 days in the fridge.
Freezing spooky mummy brownies
- Wrap brownies individually in plastic wrap or aluminum foil.
- Place them in a freezer-safe bag or container; they can last up to 3 months.
Reheating spooky mummy brownies
- Oven: Preheat to 350°F, place brownies on a baking sheet, and warm for about 10 minutes.
- Microwave: Heat on medium power in short bursts of 10-15 seconds until warm.
- Stovetop: Place a brownie in a skillet over low heat, covering it with a lid, and warm for about 5 minutes.
Frequently Asked Questions
Here are some common questions about making spooky mummy brownies.
What are spooky mummy brownies?
Spooky mummy brownies are delicious chocolate treats decorated to look like mummies, making them perfect for Halloween celebrations.
Can I customize my spooky mummy brownies?
Absolutely! You can add nuts, different types of chocolate, or swap out decorations based on personal preferences.
How do I make my spooky mummy brownies more festive?
Try adding colorful sprinkles or themed candies along with the candy eyes to enhance the Halloween spirit.
How do I store leftover spooky mummy brownies?
Leftovers should be stored in an airtight container in the refrigerator or frozen for long-term storage.
Final Thoughts
These spooky mummy brownies are not only adorable but also scrumptious! Their versatility allows you to customize flavors and decorations easily. Whether you’re hosting a Halloween party or simply indulging yourself, give this recipe a try and enjoy these delightful treats!
Spooky Mummy Brownies

These spooky mummy brownies are a delightful twist on classic brownies, perfect for Halloween or any festive gathering. With their rich chocolate flavor and adorable mummy design, these treats will enchant both kids and adults alike. The gooey texture of dark chocolate combined with playful candy eyes makes them not only delicious but visually appealing as well. Whether you’re hosting a Halloween party or looking for a fun activity to do with the kids, these spooky mummy brownies are sure to impress!
- Prep Time: 20 minutes
- Cook Time: 30 minutes
- Total Time: 50 minutes
- Yield: Approximately 12 servings 1x
- Category: Dessert
- Method: Baking
- Cuisine: American
Ingredients
- 10 tbsp butter
- 1 1/2 cups dark chocolate chips
- 1 cup sugar
- 1/4 cup dark brown sugar
- 3 eggs
- 2 tsp vanilla extract
- 3/4 cup all-purpose flour
- 1/3 cup unsweetened cocoa powder
- 20 oz semi-sweet chocolate chips (for coating)
- Candy eyes for decoration
Instructions
- Preheat the oven to 350°F and line a 9 x 9 inch cake pan with parchment paper.
- Melt butter and dark chocolate in the microwave, stirring until smooth. Mix in sugars.
- Beat eggs until frothy; gradually mix in the chocolate mixture, followed by vanilla extract.
- Combine dry ingredients and fold into the wet mixture until just mixed. Add remaining chocolate chips.
- Spread batter in the cake pan and bake for 25–30 minutes or until a toothpick comes out with moist crumbs. Cool before cutting.
- Dip brownies in melted semi-sweet chocolate and chill briefly.
- Decorate with icing to create mummy bandages and attach candy eyes.
Nutrition
- Serving Size: 1 serving
- Calories: 210
- Sugar: 18g
- Sodium: 90mg
- Fat: 12g
- Saturated Fat: 7g
- Unsaturated Fat: 4g
- Trans Fat: 0g
- Carbohydrates: 24g
- Fiber: 2g
- Protein: 3g
- Cholesterol: 50mg